Your cart is empty
Looks like you haven't added anything to your cart yet







How to Calculate Event Tent Ballast Requirements Step by Step
Last Updated: November 10, 2026
Quick Summary
Tent ballast requirements are the weight needed on each leg to keep a canopy from lifting, sliding, or tipping in wind. To calculate them, measure the tent's footprint and height, plan for forecast gust speeds, and account for the ground surface at each leg. Then check the result against the tent's wind rating and your site conditions.
- Measure footprint width and length, peak height, sidewall height, and leg spacing before calculating.
- Plan for forecast gust speeds rather than average wind speed.
- Compare the forecast gust speed to the tent's rated wind speed, such as 20 to 28 mph for Casita Air canopies.
- Each filled Casita water base holds 10 liters, adding roughly 22 pounds per leg.
- Use the more conservative number if a calculator and the manufacturer's rating disagree.
Planning a windy event?Find canopy tents, water bases, and stake kits sized for your event.
Shop Canopy Ballast Options
Table of Contents
- How Tent Ballasting Works and Why It Matters
- Gathering Tent Dimensions and Structural Details
- Setting Wind Loads and Site Conditions
- Using a Tent Ballast Calculator and Ballasting Charts
- Converting Stake Requirements into Ballast Weight
- Choosing Tent Ballast Blocks and Water Weights
- Confirming Your Tent Anchoring Requirements on Site
- Frequently Asked Questions
How Tent Ballasting Works and Why It Matters
Event tent ballast requirements are the amount of weight needed to keep a canopy from lifting, sliding, or tipping in wind. Ballast is the weight placed on each leg, usually concrete blocks or water-filled bases. Getting this number right protects people, property, and your event.
Tents act like sails. Even a light breeze pushes against the roof and walls, and that force builds fast.
That is why ballasting matters. Stakes work well in soft, deep soil. On pavement, grass with shallow roots, or sand, stakes often pull out. Ballast gives you a fixed weight that does not depend on the ground.
Most event planners ask one question first: how much weight do I need? The answer depends on four things:
- Tent size and height: Taller and wider tents catch more wind.
- Expected wind speed: Check the forecast and plan for gusts, not averages.
- Ground surface: Hard surfaces may not accept stakes at all.
- Tent structure: Frame type and fabric affect how much wind the tent takes.
Keep in mind that this guide gives a practical estimate, not an engineered load calculation. For large tents, public events, or high-wind sites, have a qualified structural professional review your plan.
Gathering Tent Dimensions and Structural Details
Before you calculate anything, measure your tent. You need the exact numbers, not the marketing size. Write down each value before moving on.
Measure these items:
- Footprint width and length (the area the legs cover)
- Peak or top height
- Sidewall height
- Roof slope, if the tent is a frame or pole style
- Number of legs and their spacing
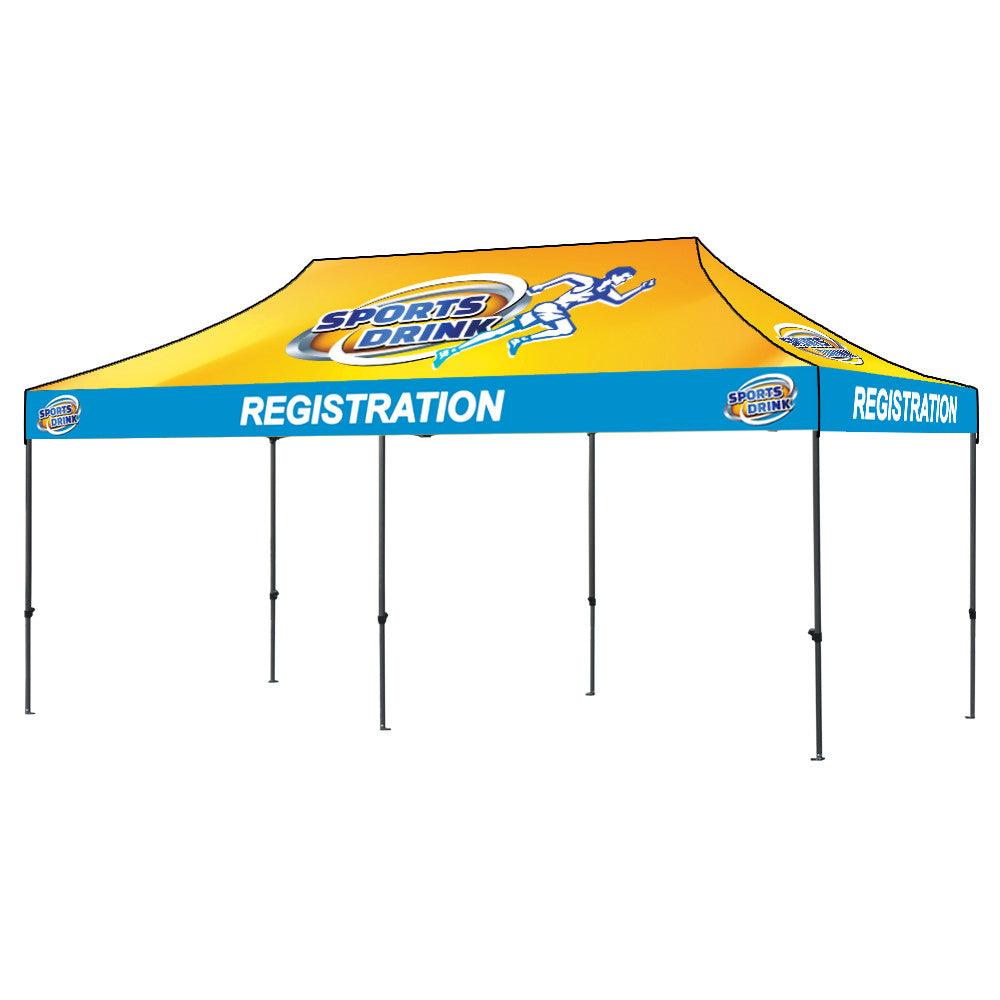
Next, note the structure. A 20 ft Casita Air Canopy Tent, for example, has a steel frame with a display of 20' x 10' and a stated maximum height of 138.5". Compare this to a 10 ft Casita Air Canopy Tent, which measures 118" W x 138.5" H x 118" D. Both are standard 10'x10' or 20'x10' canopies, but the longer tent presents more surface to the wind.
Check the spec sheet for the wind speed rating. The Casita Air canopies list a rating of 20 to 28 mph. Treat that rating as a starting point rather than a guarantee in all conditions.
Tip: Write the dimensions on a simple worksheet. You will reuse these numbers in every later step.
Setting Wind Loads and Site Conditions
Wind is the biggest factor in ballast planning. Start with the forecast for your event dates, then look at your specific site.
Consider these site factors:
- Open fields catch more wind than areas near buildings or trees.
- Raised or exposed ground lets gusts hit the tent without any shelter.
- Hard surfaces such as asphalt or concrete rule out stakes entirely.
- Soft or sandy soil may not hold stakes even when they are driven in.
Plan for gusts, not average wind speed. A forecast of 12 mph with gusts to 25 mph should be treated as a 25 mph situation.
Compare the forecast gust speed to the tent's rated wind speed. If the forecast gusts exceed the rating, add ballast, reduce the tent's exposed area, or consider a different plan for that day.
Watch out:
Using a Tent Ballast Calculator and Ballasting Charts
Calculators and charts are the fastest way to get a first estimate, but they only work well when you understand what goes in and what comes out. Most tools ask for the same core inputs: tent footprint, height, the expected gust speed, and the ground surface at each leg. Some also ask for a safety factor or a load class. Enter each value in the units the tool expects, because a mix-up between feet and meters, or between a sustained wind speed and a gust speed, is one of the most common reasons an estimate goes wrong.
Here is a transparent example of the logic, using illustrative numbers rather than a published standard. Suppose a 20 ft x 10 ft frame tent with a 10 ft sidewall height is planned for a site where the forecast gust is 25 mph. A chart might express the load as a force per square foot of exposed wall and roof, then multiply by the exposed area on the windward side and divide by the number of legs to get a per-leg hold-down requirement. The output is a weight per leg, which you then convert to a total by multiplying by the number of legs. Writing these steps down, even roughly, lets you see whether a result changed sharply because you changed one input.
When you read a chart, confirm three things before you trust it. First, check which wind speed it is built on: sustained or gust. Second, check whether it includes a safety factor and how large that factor is. Third, check whether it assumes a flat, open site. A chart built for open flat ground will under-predict the load on a sloped or wind-funneling site, so an estimate from it should be treated as a starting point.
Use the calculator as a first check, then compare the result against the manufacturer's stated wind rating and your site conditions. If the calculated load and the manufacturer's rating disagree, use the more conservative number and ask the supplier which assumptions differ.
Watch out: A calculator that accepts any number without warning is not checking your inputs. If a gust value looks unrealistically low for your area, or a leg count does not match the tent's frame, re-enter the values before relying on the output.
Converting Stake Requirements into Ballast Weight
If you plan to use stakes on part of the site, convert that plan into ballast weight for the rest. This helps you bring the right amount of weight to the event.
A simple way to start:
- Stake method: Count how many stakes each leg can hold in your ground type. Test a few stakes on site before the event.
- Ballast method: Weight each leg to the calculated number.
- Mixed method: Use stakes where the ground is soft and ballast where it is hard.
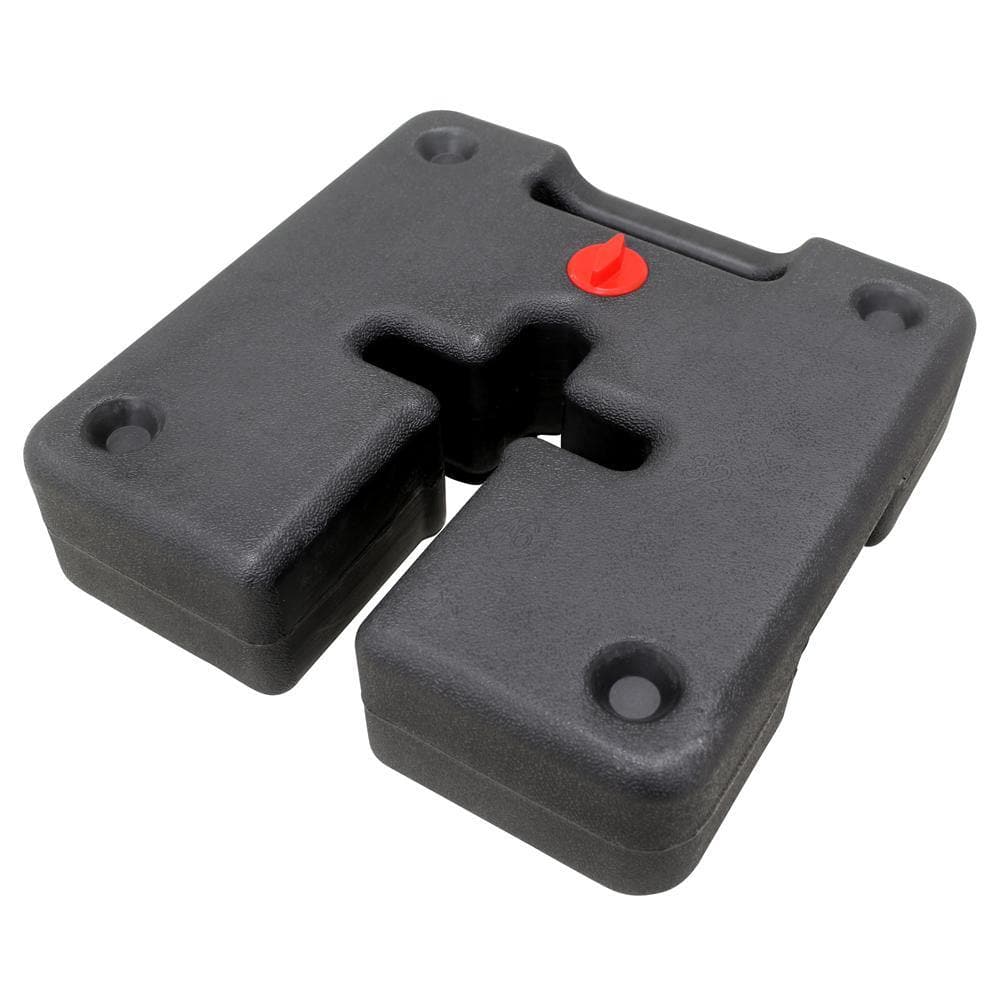
A Casita Plastic Water Base, sold as one piece per leg, holds 10 liters of water. Water is about 1 kilogram per liter, so one filled base adds roughly 10 kilograms (about 22 pounds) per leg. Four bases therefore add roughly 88 pounds across a tent. This is a useful reference, but confirm the total against the calculated requirement for your size and wind conditions.
Watch out: Stakes that pull out in a test will pull out in wind. If a stake does not hold firmly during a test, do not rely on it.
Once you have a stake plan and a ballast plan, the article's main options compare as follows.
| Ballast option | Best for | Key difference |
|---|---|---|
| Concrete ballast blocks | Dense, compact loads | Heavy to move, takes up less space |
| Water bases | Adjustable, lighter transport | Filled on site, adjusted in small steps |
| Sandbags | Low-cost, flexible loads | Can leak and must stay dry |
Choosing Tent Ballast Blocks and Water Weights
Ballast comes in a few common forms. Choose based on your load, your transport, and how fast you need to set up.
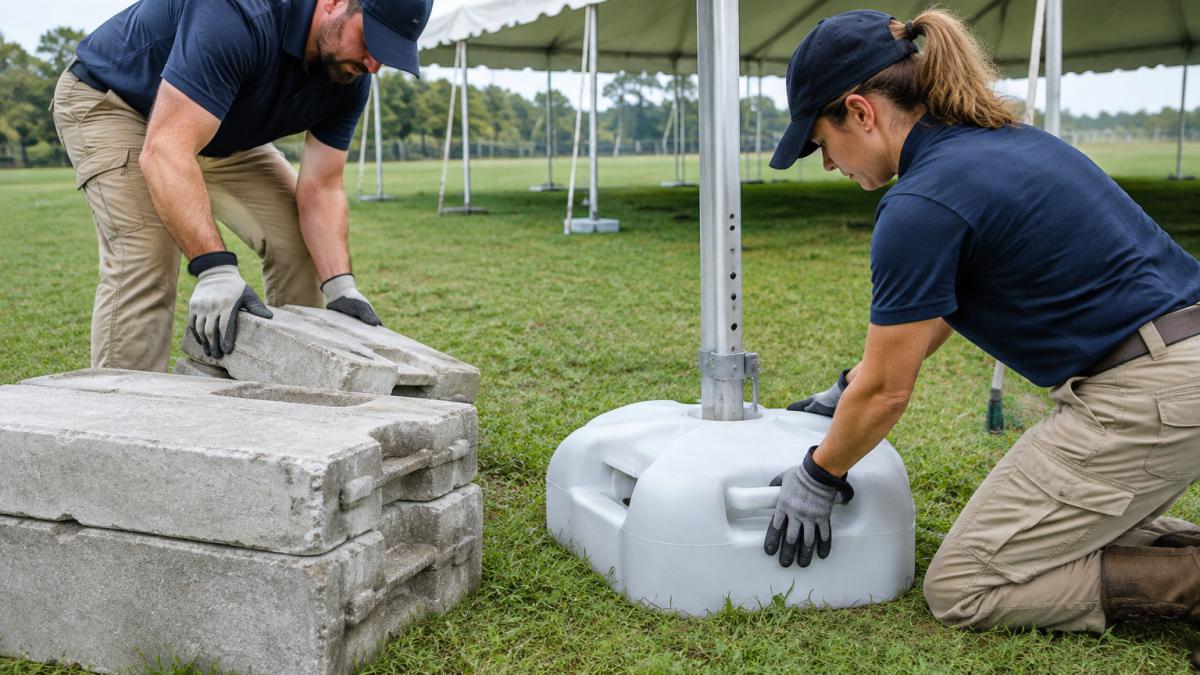
Options to compare:
- Concrete ballast blocks: Dense and compact, so they take up less space, but they are heavy to move.
- Water bases: Lighter to transport empty, then filled on site. They are easy to adjust in small steps.
- Sandbags: Cheap and flexible, but they can leak and need to stay dry.
Water-filled bases are a practical choice for many events because you can fill them to the weight you need.
Keep a few things in mind:
- The Casita water base measures 15" L x 15" W x 5" H.
- Fill bases fully and evenly for stable loading.
- Plan for the extra weight when you move the tent later.
Confirming Your Tent Anchoring Requirements on Site
A calculation is only useful if the installed ballast matches it. Field verification closes that gap, and it is where many setups fail: the plan says one thing, and the ground, the weight, or the connections quietly say another.
Start with a site walk before any equipment arrives. Mark each leg position and note the surface under it. Concrete and asphalt cannot accept stakes, so those legs need ballast. Grass over soft soil may hold a stake only to a limited depth, and sandy or saturated ground can release one under a steady pull. Check for underground utilities and irrigation lines at each position, since driving a stake into a buried line is a common and avoidable problem.
On slopes, the ballast on the downhill legs usually needs to be higher, and the legs may need to be shimmed level before loading. Do not rely on ballast to correct a large grade; if the frame cannot sit level, the load path changes and the calculation no longer applies.
Verify installed ballast in three steps. First, count the units on each leg and compare the total with your plan. Second, confirm each unit is seated and connected to the leg. Third, check the connections after the frame is raised and again after the first gust. Loose straps, shifting blocks, and bases that are not fully filled are the most common failures, and they are easy to miss once the tent is standing.
Know when a plan needs more than a field check. An estimate from a calculator or chart is not an engineered requirement. If the tent is large, the event has crowds or seating, the tent will stand for several days, the site is exposed or on a slope, or the forecast gusts approach the rated limit, arrange a review by a qualified structural professional before the event. Their review can account for site-specific loads that a chart cannot.
Record the installed ballast with photos and a count per leg. This record shows what was actually installed, and it is the baseline you will compare against if conditions change.
Watch out: A tent that is partly raised is most vulnerable. Finish ballasting every leg before the frame goes up, and do not leave a partly raised structure unattended in wind.
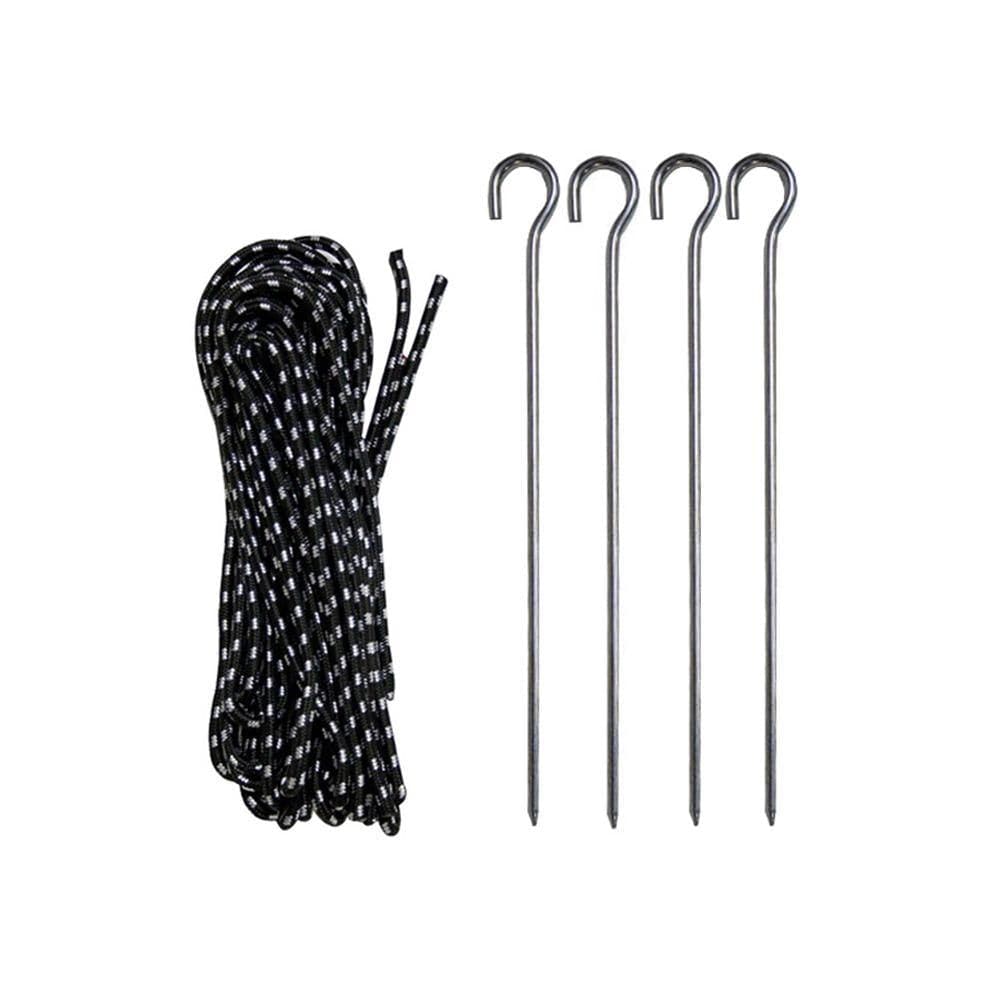
Ready to set up your branded canopy? The 20 ft Casita Air Canopy Tent gives you a large, custom-printed display, and the Casita Plastic Water Base lets you add water weight to each leg. For stake and anchoring options, see the Casita Canopy Accessories Rope And Stake kit.
Frequently Asked Questions
How do you calculate ballast requirements for an event tent?
Start with the tent's dimensions, height and wall or graphic panel area, then apply the design wind speed for your site. The result is a rough per-leg weight estimate. Treat that number as a preliminary figure only. Compare it against the manufacturer's listed wind speed rating, such as the 20-28 mph rating on Casita canopy tents, and confirm the final plan with a qualified structural professional before setting up in exposed conditions.
What factors affect how much ballast an event tent needs?
The main factors are tent size and height, roof slope, the amount of exposed fabric or graphic panels, wind speed, ground conditions, and how the tent is attached to each leg. Wider or taller tents catch more wind, and solid walls or printed graphics act like sails. Soft turf or sandy soil also reduces holding power, so ground conditions should be assessed alongside the wind load.
Can I use a tent ballast calculator to determine the required weight?
A tent ballast calculator can give a useful preliminary estimate of weight per leg, but it does not replace an engineered requirement. Enter accurate dimensions, the design wind speed and the number of legs, then check the output against the tent manufacturer's wind rating. For permanent or high-wind installations, have a qualified structural professional verify the plan.
Are concrete blocks suitable for tent ballast?
Water-filled bases are one option; the Casita Plastic Water Base for one leg holds 10 L of water, and the manufacturer recommends one base per leg.

- Choosing a selection results in a full page refresh.
