Your cart is empty
Looks like you haven't added anything to your cart yet







How to Prepare Artwork for Custom Printing
Table of Contents
- Why Artwork Preparation Determines Print Quality
- Understanding Image Resolution: The 300 DPI Standard
- CMYK vs RGB for Printing: Choosing the Right Color Mode
- Best File Formats for Screen Printing and Custom Apparel
- How to Prepare Vector Files for Custom Printing
- Converting Fonts to Outlines in Illustrator
- Software-Specific Workflows, POD Tips, and Pre-Flight Checklist
- Conclusion
Last Updated: August 23, 2026
Why Artwork Preparation Determines Print Quality
Poor artwork preparation is the single most common reason a print job comes back looking nothing like the screen preview. Knowing how to prepare artwork for custom printing is the difference between a product that reinforces your brand and one that undermines it. This guide covers every critical step, from resolution and color mode through file export and pre-flight verification.
Key Takeaway
Print quality is determined before the job goes to press. Artwork that meets technical specifications, correct resolution, CMYK color mode, proper bleed, and vector-based graphics, will reproduce accurately. Artwork that does not will always disappoint, regardless of the printer's quality.
Understanding Image Resolution: The 300 DPI Standard
Resolution is the density of pixels or dots in an image, measured in DPI (dots per inch) or PPI (pixels per inch). For print production, 300 DPI at the final output size is the industry standard minimum. Anything below that threshold produces visible pixelation on the finished piece.
Printing equipment reproduces images by laying down tiny ink dots. When the source image has too few pixels to fill the print area at that density, the printer interpolates, essentially guessing at missing data, and the result is soft, blurry edges. As documented in Adobe's guide to print resolution standards, images intended for print should be set to 300 PPI at 100% of the final print dimensions before any scaling occurs.
Pixel Dimensions vs. Physical Print Size
A 300 DPI setting in Photoshop means nothing if the pixel dimensions do not support the target print size. The formula is straightforward:
Required pixels = Print size (inches) × DPI
A 10-inch wide print at 300 DPI requires 3,000 pixels across. If your file is only 1,200 pixels wide, it is effectively 40 DPI at that size. Always check pixel dimensions first, then confirm the DPI setting matches.
When Lower Resolution Is Acceptable
Large-format prints, banners, and outdoor signage viewed from several feet away typically require only 100-150 DPI at final size. The critical rule: never upscale a low-resolution image to hit 300 DPI artificially. Photoshop can add pixels, but it cannot add detail that was never there.
CMYK vs RGB for Printing: Choosing the Right Color Mode
RGB and CMYK are fundamentally different color systems, and submitting an RGB file for print is one of the most reliable ways to get unexpected color results.
RGB (Red, Green, Blue) is an additive color model used by screens and can display colors that physical inks simply cannot reproduce. CMYK (Cyan, Magenta, Yellow, Black) is the subtractive model used by most commercial printing processes. When an RGB file hits a CMYK press without conversion, the printer's software converts it automatically, and that automatic conversion rarely matches your intention.
Convert your files to CMYK in your design software before submitting. This gives you control over how out-of-gamut colors shift. According to Pantone's color management resources for print professionals, working in the correct color space from the start of a project is the most effective way to ensure color accuracy across substrates.
Soft Proofing and Color Profiles
Soft proofing simulates how a CMYK print will look on your RGB monitor before committing to a press run. In Adobe Photoshop or Illustrator, enable soft proofing by selecting View > Proof Colors and choosing a color profile that matches your printer's output intent.
The most common print color profiles are U.S. Web Coated (SWOP) v2 for coated stock in North America, Coated FOGRA39 for European offset printing, and GRACoL 2013 for high-quality coated printing. Soft proofing reveals which colors will shift when printed, allowing you to adjust them in CMYK before exporting.
Best File Formats for Screen Printing and Custom Apparel
The file format you submit determines how much control the production team has over your artwork.
Vector vs. Raster: Which Format to Use
Vector graphics are built from mathematical paths rather than pixels and scale to any size without quality loss. Adobe Illustrator (.ai) and Encapsulated PostScript (.eps) files are the standard vector formats for custom printing.
Raster images are pixel-based. JPEG, PNG, TIFF, and PSD are all raster formats and are resolution-dependent. For print production, raster files are acceptable only when supplied at 300 DPI at the final output size.
Use vector files for logos, text, and line art. Use high-resolution raster files only for photographic imagery where vector is not an option.
| Format | Type | Best For | Print-Ready? |
|---|---|---|---|
| .AI (Illustrator) | Vector | Logos, apparel graphics | Yes |
| .EPS | Vector | Universal print submission | Yes |
| .PDF/X-1a | Vector/Raster | Professional pre-press | Yes |
| .TIFF (300 DPI) | Raster | Photographic prints | Yes |
| .PNG (300 DPI) | Raster | Digital proofs, DTF | Conditional |
| .JPEG | Raster | Photos only, no logos | Rarely |
PDF/X-1a and Print-Ready Export Settings
PDF/X-1a is the print industry's preferred exchange format. It embeds all fonts, flattens transparency, converts colors to CMYK, and locks the file for reliable reproduction. Most professional printers prefer or require PDF/X-1a for offset and digital press work.
To export PDF/X-1a from Illustrator: File > Save As > Adobe PDF > select the PDF/X-1a:2001 preset. Confirm that bleed settings are included and that all spot colors are converted to CMYK unless intentional spot color printing is specified.
How to Prepare Vector Files for Custom Printing
Start in Adobe Illustrator and set your document color mode to CMYK from the outset (File > Document Color Mode > CMYK). Build your artwork at the actual final print size, not at a reduced scale. Working at actual size keeps your stroke weights and effects proportional to the finished product.
Setting Up Bleed, Crop Marks, and Registration Marks
Bleed is the extension of artwork beyond the final trim edge. It exists because cutting machines are not perfectly precise. The standard bleed for most print applications is 0.125 inches (1/8 inch) on each side.
Crop marks indicate where the printed sheet will be cut. Registration marks are small targets that allow press operators to align color separations accurately. Both are added automatically when you export a print-ready PDF with the correct settings enabled.
To add bleed in Illustrator: File > Document Setup > Bleed. Set 0.125 inches on all sides. When exporting to PDF, check "Marks and Bleeds" and enable crop marks and registration marks.
Watch Out
Never place critical design elements, text, or logos within 0.125 inches of the trim edge. Keep all important content at least 0.25 inches inside the trim edge to avoid being trimmed off.
Layer Organization and Managing Transparency
Organized layers directly affect print output. Name every layer clearly and delete unused layers and hidden objects before final export.
Transparency is a specific risk area. Live transparency effects, drop shadows, glows, and opacity settings below 100% must be flattened before sending to press. In Illustrator, use Object > Flatten Transparency before exporting, or use the PDF/X-1a export preset, which handles flattening automatically.
Converting Fonts to Outlines in Illustrator
Converting fonts to outlines transforms text into vector paths, eliminating any dependency on the font being installed on the production system. If a printer's system does not have the exact font you used, it will substitute the closest available font, potentially breaking layouts.
To convert fonts in Illustrator: Select All (Ctrl+A / Cmd+A), then Type > Create Outlines. Verify the conversion by checking that no text objects remain in the Layers panel.
Save a backup copy of the original file with live text before converting. Check for any text hidden behind other objects by selecting All before converting. Outlined text at very small sizes (below 6pt) can sometimes lose fine detail.
As outlined in Adobe Illustrator's official documentation on creating outlines, converting type to outlines is the recommended practice for all print-bound files.
Software-Specific Workflows, POD Tips, and Pre-Flight Checklist
The tools you use to prepare artwork matter as much as the settings you apply.
Canva vs. Adobe for Print-Ready Files
Adobe Illustrator and Photoshop remain the professional standard for preparing artwork for custom printing. They offer full CMYK control, native vector support, PDF/X-1a export, and precise bleed setup.
Canva has improved its print capabilities but has real limitations: it operates in RGB by default with automatic CMYK conversion that is not user-controlled, does not support true vector export, and has limited bleed setup options.
For simple designs, text-heavy layouts, and basic geometric shapes, Canva's PDF print output is often workable. For complex logos, multi-color apparel graphics, or jobs requiring spot color separation, Adobe tools are the correct choice.
Pro Tip
If you are using Canva for a print project, always download as "PDF Print" rather than "PDF Standard." The print version exports at 300 DPI with bleed included.
Print-on-Demand File Requirements
Print-on-demand platforms use direct-to-garment (DTG) or direct-to-film (DTF) printing, both raster-based processes with specific requirements:
- File format: PNG with a transparent background is preferred, allowing precise placement without a white background box.
- Resolution: 300 DPI at the final print size. For a standard 10-inch chest print, that means a PNG at least 3,000 pixels wide.
- Color mode: RGB is acceptable for DTG/DTF because these processes use digital inkjet heads that operate in RGB color space.
- Ink density: Avoid large solid dark areas on light garments, which can feel stiff.
Pre-Flight Checklist Before You Submit
- Document color mode set to CMYK (or RGB for DTG/DTF only)
- Resolution confirmed at 300 DPI at final print size
- All fonts converted to outlines
- Bleed set to 0.125 inches (or per printer specification)
- Crop marks and registration marks included in export
- Transparency flattened
- All layers named and organized; unused layers deleted
- Artwork scaled to 100% of final print size
- Color profile embedded (U.S. Web Coated SWOP v2 for most North American print)
- File exported as PDF/X-1a (for offset/digital press) or PNG 300 DPI (for DTF/DTG)
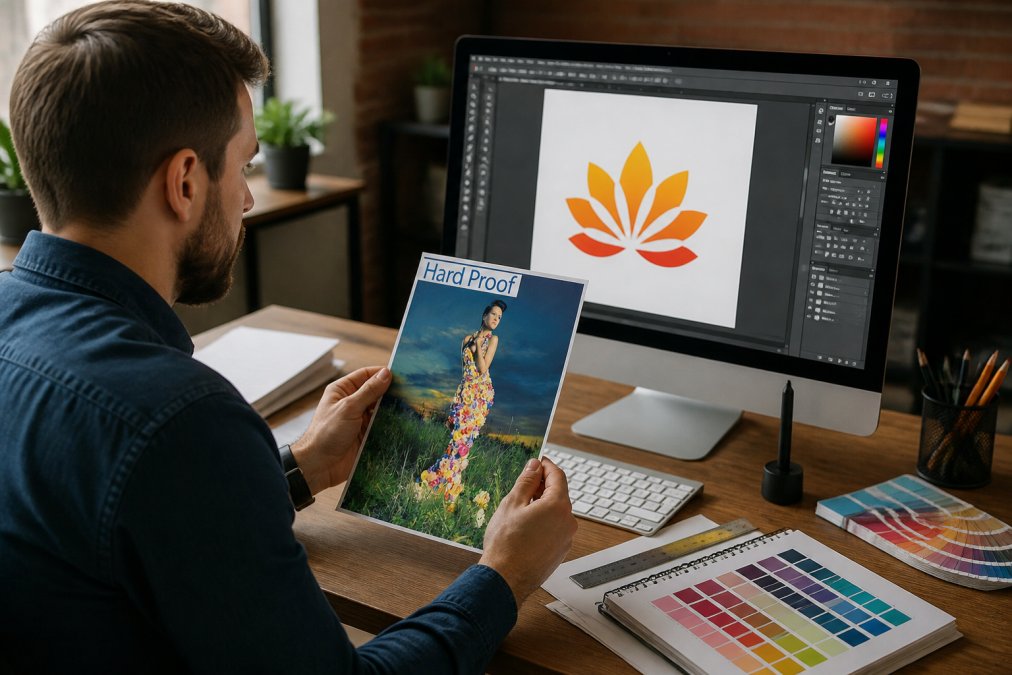
- Hard copy proof ordered to verify color and material before full production run
A digital proof on a calibrated monitor is useful, but a physical proof is the only way to verify how ink will actually look on your chosen substrate. For large orders or new designs, ordering a hard copy proof before committing to the full run catches problems at low cost.

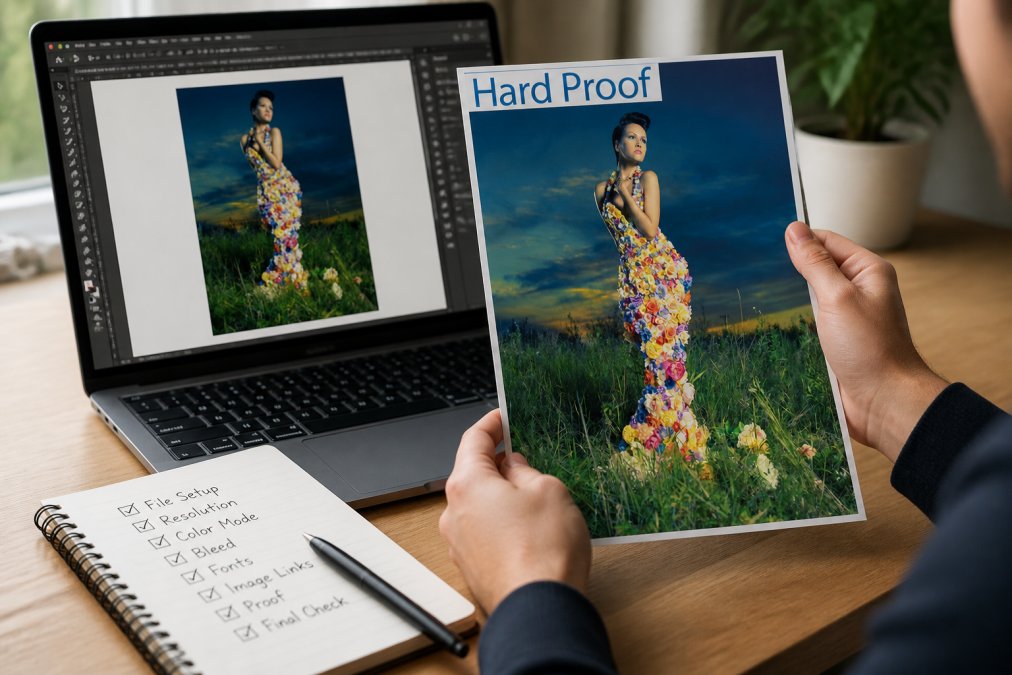
For reference, standard pre-flight requirements align with what the Graphic Communications Council's CGATS print standards defines as print-ready file specifications for commercial production.
Artwork preparation errors are the most preventable source of print quality problems. 2mepromo.com offers a Hard Copy Proof service that lets you verify color accuracy and material appearance before your full order goes to press. For custom apparel, DTF Gildan 2000 Soft Style Shirts accept PNG files at 300 DPI with a transparent background, and the team handles sizing and imprinting from there. Get started with 2mepromo.com and submit files that produce exactly what you designed.

Frequently Asked Questions
What color mode should I use for custom promotional products?
Use CMYK color mode for any file going to a professional printer. RGB is designed for screens and covers a wider color gamut than most printing inks can reproduce. When you submit an RGB file, the printer's software converts it automatically, and that conversion often shifts bright blues and vibrant reds noticeably. Converting to CMYK yourself in Adobe Illustrator or Photoshop before submitting gives you control over how those colors translate to ink on the final product.
Why is 300 DPI the standard resolution for high-quality printing?
At 300 DPI (dots per inch), a raster image contains enough pixel density that individual dots become invisible to the human eye at normal viewing distance. Files below 150 DPI typically print with visible pixelation or blurring. The 300 DPI standard applies at the final print size, if you scale a 300 DPI image up by 200%, its effective resolution drops to 150 DPI. Always set your canvas to the exact output dimensions at 300 DPI before you start designing.
How do I convert fonts to outlines to avoid printing errors?
In Adobe Illustrator, select all text on your artboard, then go to Type > Create Outlines (or press Shift+Ctrl+O on Windows, Shift+Cmd+O on Mac). This converts each letter from a live font into a vector shape, so the printer's system no longer needs the original font file installed. Always save a separate editable copy before outlining, because outlined text cannot be edited. This step eliminates missing-font errors and ensures your typography prints exactly as designed.
What are the most common file formats for custom apparel printing?
For screen printing and direct-to-film (DTF) apparel like the [DTF Gildan 2000 Soft Style Shirts](https://2mepromo.com/products/dtf-gildan-2000-soft-style-shirts) available at 2mepromo.com, the preferred formats are AI (Adobe Illustrator), EPS, and high-resolution PNG with a transparent background. PDF/X-1a works well for most commercial print jobs. Avoid JPEG for apparel artwork because JPEG compression degrades edges and creates artifacts around fine details. If you only have a raster file, submit it at 300 DPI or higher at the actual print size, typically around 10 inches wide for a standard chest print.
This article was written using GrandRanker
- Choosing a selection results in a full page refresh.
