Your cart is empty
Looks like you haven't added anything to your cart yet







How to Prepare Vector Files for Custom Printing
Table of Contents
- Understanding Vector vs. Raster Graphics for Print
- Best Vector File Formats for Printing
- Setting Up Color Modes: CMYK and Spot Colors
- How to Outline Fonts in Illustrator and Other Design Tools
- Print-Ready File Requirements Checklist
- Managing Resolution, DPI, and Embedded Images
- Pre-Flight Checklist and Common Mistakes to Avoid
- Troubleshooting Export Errors and File Submission
Last Updated: August 27, 2026
Understanding Vector vs. Raster Graphics for Print
Vector graphics use mathematical formulas to define shapes and colors, scaling infinitely without quality loss (w3.org). Raster images are pixel-based and become blurry when enlarged beyond their original resolution. For custom printing, vector graphics are the right choice because they maintain crisp edges at any size, from a 2-inch promotional item to a 10-foot banner. A logo designed in vector format can be resized for business cards, t-shirts, or trade show tents without degradation. Raster logos enlarged beyond their native resolution will look soft and unprofessional when printed.
Pro Tip
If you're unsure whether your file is vector or raster, check the file extension. Common vector formats include .AI, .EPS, .PDF, and .SVG. Common raster formats include .JPG, .PNG, and .TIFF. When in doubt, ask your designer or design tool.
Best Vector File Formats for Printing
Not all vector file formats are equally suitable for custom printing. The most print-ready formats are EPS, AI, PDF, and SVG, each with specific strengths.
EPS (Encapsulated PostScript) is the industry standard for print production. It preserves vector data, fonts, and embedded images without compression, making it reliable for professional workflows. EPS files work across platforms and integrate seamlessly with most print management software.
AI (Adobe Illustrator) is the native format for Adobe Illustrator and contains complete design information including layers, effects, and editable text. Many professional designers work in AI format for easy revisions. However, not all print shops accept AI files directly; some require conversion to EPS or PDF first.
PDF (Portable Document Format) has become increasingly popular for print submission because it's universal and preserves formatting across devices. A print-ready PDF locks your design, fonts, and colors in place, reducing production errors. PDFs are also compact and easy to share, though they're harder to edit once created.
SVG (Scalable Vector Graphics) is web-native and lightweight, but less common in traditional print workflows. Many print shops don't have native SVG support. If your project involves both digital and print components, confirm compatibility with your printer first.
For most custom printing projects, EPS remains the safest choice because it's universally supported and specifically designed for print production.
| Format | Best For | File Size | Print Shop Support | Editable After Export |
|---|---|---|---|---|
| EPS | Professional print production | Large | Universal | No |
| AI | Design work and revisions | Medium | Limited | Yes |
| Print submission and proofing | Small | Universal | No | |
| SVG | Web and digital display | Very small | Limited | Yes |
Watch Out
Never submit a JPG or PNG file as your primary artwork for custom printing. These raster formats will pixelate when enlarged. Always use vector formats, EPS, AI, PDF, or SVG, to ensure print quality.
Setting Up Color Modes: CMYK and Spot Colors
Your computer screen displays color using RGB (Red, Green, Blue), which doesn't translate directly to print. Print production uses CMYK (Cyan, Magenta, Yellow, Black), four inks that combine to create the full color spectrum (iso.org). If you submit an RGB file, your printer must convert it, and colors often shift or appear dull.
Before finalizing your design, convert your file to CMYK color mode. Open your file in Adobe Illustrator or another vector editor, navigate to Image or Document settings, and change from RGB to CMYK. The color shift you see on screen after conversion is normal and represents how your design will actually print.
Spot colors, also called Pantone colors, offer precision when color accuracy is critical. Instead of mixing CMYK inks, spot colors use a single premixed ink that matches an exact Pantone reference. For projects where brand color accuracy is non-negotiable, government agency uniforms, corporate awards, or organizational promotional items, spot colors eliminate guesswork. The trade-off is cost and complexity; each spot color adds production steps and expense. When you prepare vector files with spot colors, specify the exact Pantone number in your file. 2mepromo.com offers PMS Color Match service at $38.46 per color for color-critical projects.

If you're uncertain whether your design needs spot colors or CMYK, consider the end use. Apparel and promotional items typically use CMYK. High-end signage, awards, and items requiring exact brand color matching benefit from spot color specification.
How to Outline Fonts in Illustrator and Other Design Tools
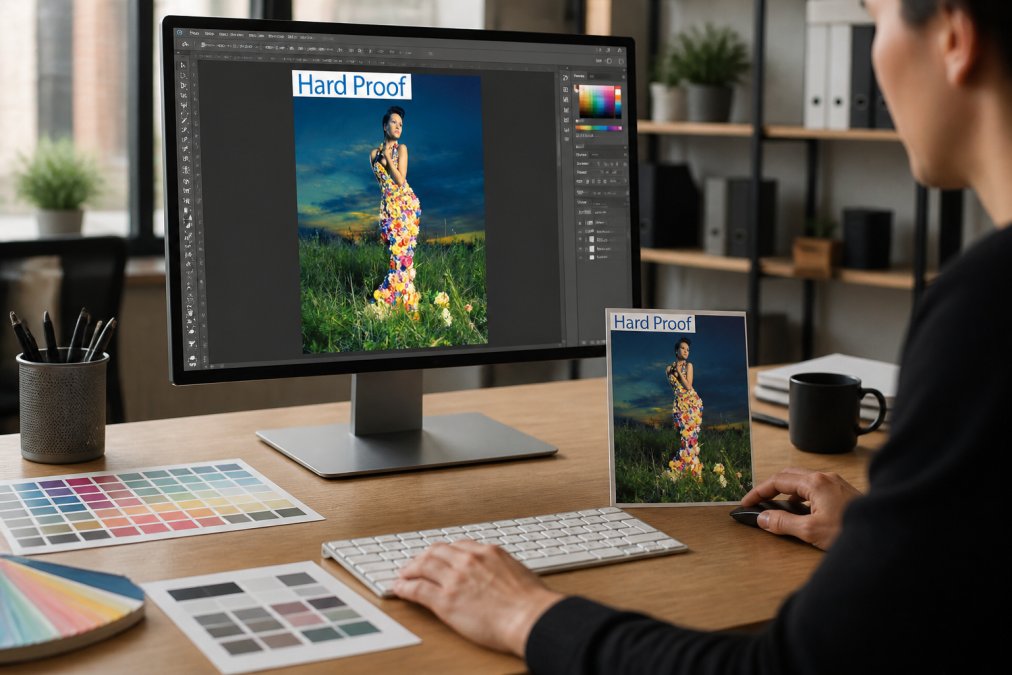
Fonts are a common source of printing problems because not every printer has access to every typeface. When your design contains editable text, the printer's system might substitute a different font if the original isn't installed, changing your layout and appearance. The solution is to convert text to outlines, transforming editable letters into vector shapes that print exactly as designed.
In Adobe Illustrator, select all text (Ctrl+A or Cmd+A), then go to Type menu and choose "Create Outlines." In Affinity Designer, use Type → Convert to Curves. In Inkscape, choose Path → Object to Path. In CorelDRAW, use Text → Convert to Curves. The text converts to vector shapes that can't be edited as text anymore, but they print perfectly.
Outline your fonts only after you've finalized all text changes. Once text is converted to outlines, you can't edit the wording or formatting. Many designers keep two versions of their file: one with editable text (for internal use) and one with outlined fonts (for print submission). When you prepare vector files with outlined fonts, you eliminate one of the most common production delays.
Print-Ready File Requirements Checklist
Creating a print-ready file requires attention to multiple technical specifications. A single oversight can delay production or result in poor quality output.
File Format & Structure:
- File is saved in EPS, AI, PDF, or SVG format
- File contains no linked images (all images are embedded)
- All layers are flattened or organized clearly with descriptive names
- File size is under 50 MB for easy transfer
Color & Color Mode:
- Design is in CMYK color mode (not RGB)
- No spot colors are used unless specified with exact Pantone numbers
- All blacks are pure black (100% K, not CMYK combinations)
- Color values are within printable gamut
Text & Fonts:
- All text is converted to outlines or embedded in the file
- No missing fonts are referenced
- Minimum font size is 6pt for legibility
- Text has adequate contrast against background colors
Images & Resolution:
- All embedded images are 300 DPI at final print size
- No raster images are enlarged beyond their native resolution
- Images are in CMYK color mode, not RGB
- No low-quality or compressed images are used
Specifications & Bleed:
- Design includes 0.125" bleed on all edges (if applicable to product)
- Trim marks are included for custom sizes
- Dimensions match the final product specification exactly
- File includes crop marks if needed for production
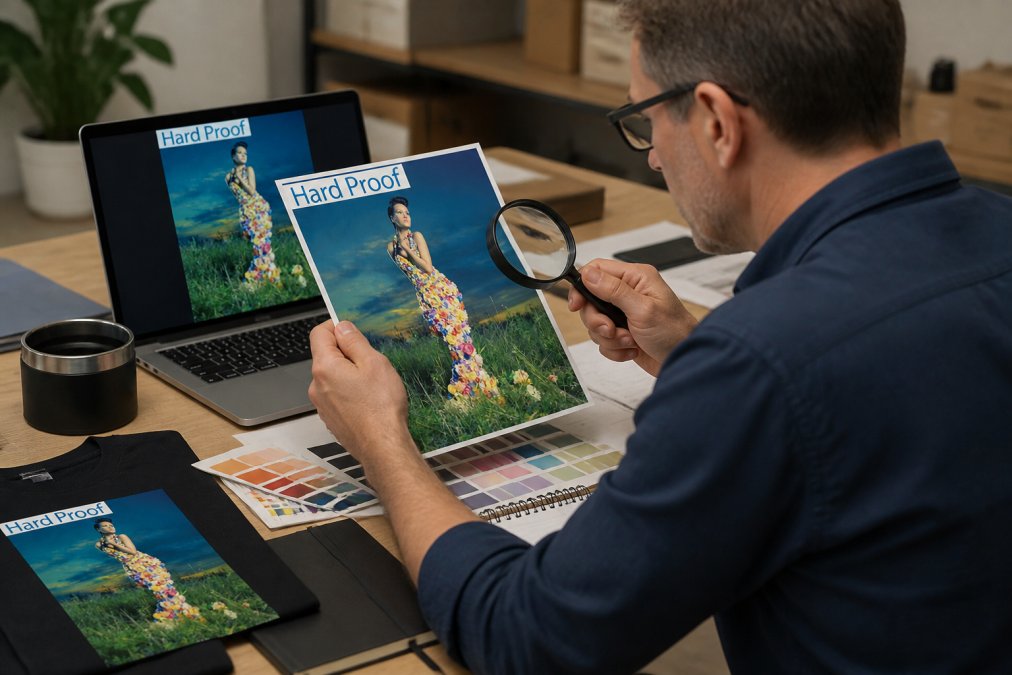
Before submitting, run through this checklist systematically. A [hard copy proof(/products/hard-copy-proof-1-7bc5ae3b-8216-4c64-84ff-30723c5351fb) | 2mepromo.com] costs $61.54 and ships in 1-2 business days, giving you a physical preview of your design before full production.
Managing Resolution, DPI, and Embedded Images
For custom printing, the rule is straightforward: 300 DPI is the minimum for professional results (printing.org). At 300 DPI, the human eye can't distinguish individual dots, and text and images appear sharp and crisp. Lower resolutions create visible pixelation and blurriness.
When you embed images in your vector file, ensure they meet the 300 DPI requirement at their final print size. An image that's 1000 pixels wide at 72 DPI is only 3.5 inches wide at 300 DPI. If your design calls for a 6-inch image, you need roughly 1800 pixels at 72 DPI.
The math is simple: multiply your desired print width (in inches) by 300. That's the pixel width you need. For a 4-inch image at 300 DPI, you need 1200 pixels wide. For an 8-inch image, you need 2400 pixels wide.
Embedded images must also be in CMYK color mode for print. If your image is in RGB, convert it before embedding using the Image menu under Mode or Color Profile. Converting RGB to CMYK shifts colors slightly, which is normal and expected.
Before embedding images, optimize them for file size without sacrificing quality. Most design tools allow you to export embedded images at a specific DPI and quality level, reducing file size while maintaining print quality.
Pro Tip
If you're unsure about your image resolution or color mode, export a test file and ask your printer to review it before committing to full production. This pre-flight review saves the cost of reprinting.
Pre-Flight Checklist and Common Mistakes to Avoid
Pre-flight checking is the final quality control step before your design goes to production. A pre-flight review examines every technical specification to catch problems before they become expensive mistakes.
The most frequent mistakes in custom printing submissions are: submitting RGB files instead of CMYK (resulting in color shifts), embedding low-resolution images (causing pixelation), failing to outline fonts (causing font substitution), ignoring bleed requirements (resulting in white edges), and submitting unsupported file formats like JPG or PNG.
Each mistake is preventable with a simple checklist. Before submitting your file, verify color mode (CMYK), image resolution (300 DPI), font status (outlined or embedded), bleed (0.125" on all edges), and file format (EPS, PDF, or AI). If your design includes spot colors, confirm the exact Pantone numbers.
When you prepare vector files for custom printing, think like a production manager. What could go wrong? What assumptions are you making about the printer's capabilities? Answering these questions before submission prevents delays and quality issues.
One often-overlooked step is communicating with your printer about file specifications before you start designing. Different products have different requirements. At 2mepromo.com, our production team can provide specific file requirements for your product before you design, saving time and eliminating rework.
Troubleshooting Export Errors and File Submission
Export errors occur when design software can't save your file in the requested format. These errors usually stem from incompatible file settings, unsupported features, or software bugs.
The most common export error is attempting to save a file with unsupported features. Some design tools allow transparency and blending modes that don't translate to EPS format. The solution is to flatten your design before exporting, merging all layers and removing transparency. Most design tools have a "Flatten Image" or "Merge Layers" option.
Another frequent issue is font-related errors during export. If you haven't outlined your fonts and the export process can't find the typeface, the export fails. Convert all text to outlines before exporting.
File size can also cause export problems. If your file exceeds 50 MB, compress it by reducing image resolution or removing unnecessary elements. Most design tools allow you to export at a specific quality level, reducing quality slightly can cut file size in half without noticeable impact on print quality.
When submitting files to your printer, use a reliable file transfer method. Email works for files under 25 MB. For larger files, use cloud storage like Google Drive, Dropbox, or WeTransfer. Include a brief note describing the design, the product it's for, and any special instructions. This context helps your printer process your file correctly.
If your printer reports an error with your file, most errors are fixable. Common solutions include re-exporting in a different format, flattening layers, outlining fonts, or converting color mode. Your printer can usually guide you through the fix. Many print shops offer file repair services, often at no charge for minor fixes.
Preparing vector files for custom printing requires attention to detail and understanding of key technical specifications. Whether you're designing branded apparel, promotional items, or signage, getting the file specifications right ensures your design prints beautifully and arrives on time. At 2mepromo.com, our team can review your artwork before production and guide you through fixes. Start with a hard copy proof to verify your design before full production, and you'll have confidence that your custom printing will meet your expectations.
Frequently Asked Questions
Why do printers require vector files instead of JPEGs for custom printing?
Vector files use mathematical formulas to define shapes and colors, so they scale infinitely without losing quality. JPEGs are raster images made of pixels, which become pixelated and blurry when enlarged. For custom printing on apparel, signage, or promotional items, vector graphics ensure sharp, crisp results at any size. This is especially critical for logos and text that need to maintain clarity across different product sizes and materials.
What is the best vector file format for printing custom apparel and promotional items?
EPS, AI, and PDF are the most reliable formats for custom printing. EPS (Encapsulated PostScript) is industry-standard for print production and preserves all vector data. AI (Adobe Illustrator) maintains full editability and layer information. PDF works well for final submissions since it embeds fonts and ensures compatibility across platforms. SVG is excellent for screen printing and embroidery workflows. Always confirm your printer's preferred format before submitting.
How do I know if my file is truly print-ready before submitting?
A print-ready file must have all fonts converted to outlines, use CMYK color mode (or Pantone spot colors for precise matching), include proper bleed and trim marks, embed all images at 300 DPI minimum, and have no transparency or effects that won't print correctly. Use your design software's preflight tools to check for errors. Many printers offer hard copy proofs ($61.54) that let you see actual printed samples before full production, catching any color or quality issues early.
What should I do if my files are disorganized or I'm not sure they meet print standards?
Start by reviewing your files against a pre-flight checklist: convert all text to outlines, verify CMYK color mode, check DPI on embedded images, and remove any transparency. If you're uncertain about color accuracy, use a PMS Color Match service ($38.46 per color) to ensure your Pantone colors print as intended. Request a hard copy proof to preview your design on the actual material before committing to full production. This prevents costly reprints and ensures your branded items meet your quality standards.
This article was written using GrandRanker
- Choosing a selection results in a full page refresh.
